How to Recover Data from Digital Storage Media using Autopsy
Data recovery is simply restoring data that had otherwise been lost by the owner or author due to many reasons.
Table of contents
- Prerequisites
- Causes of data loss
- Tools used in data recovery
- Prerequisites of data recovery
- data recovery process
- Conclusion
- References
Prerequisites
To follow along with this tutorial, the reader should have:
- A general knowledge about digital data storage media.
- Some knowledge of disk imaging.
Causes of data loss
Data loss can be caused by several reasons, some of which are as follows:
- Theft of storage media – When computers, laptops, hard drives, or USB drives are stolen from the owner, the data stored within it is equally considered stolen and, therefore, lost.
- Liquid spillage - Accidentally spilling liquid on a laptop, hard drive, USB drive, or computer can cause a short circuit within the computer electric components. When this happens, both recovery of the computer functionalities and the data stored inside becomes difficult.
- Natural Disasters – Disasters such as fire, floods, and earthquakes can happen when they are least expected and thus, pose devastating impacts on business. They can destroy computers and the data stored altogether.
- Computer software corruption – When software shuts down unexpectedly or improperly, serious issues such as corruption or deletion of data can occur.
- Hard drive formatting – hard drives can be accidentally formatted which results in instant data loss.
- Bad actors – When unauthorized people get access to data on a network, they can cause serious damage. This includes deletion and corruption of data.
- Human error – Human mistakes such as the unintentional deletion of data files cannot be avoided completely. They can cause massive loss of computer data.
- Computer viruses and malware - Some computer viruses can steal and delete data.
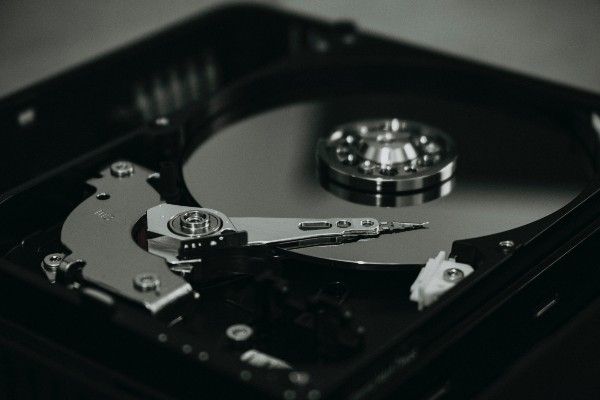
- Hard drive damage - Computer disks that malfunction or get damaged could cause data losses. This accounts for the majority loss of data.
- Power Loss – Power losses often result in improper shutdown procedures. This issue not only causes loss of unsaved data but may corrupt some existing files.
Tools used in data recovery
There are various tools used in data recovery, some are free, and others require payment.
The following are some of the commonly used tools:
- Autopsy
- SysTools Hard Drive Data Recovery
- Stellar Data Recovery
- EaseUs
- Disk Drill
- Advanced Disk Recovery
- Minitool Power Data Recovery
- Recuva
- UndeleteMyFiles Pro
Prerequisites of data recovery
Create an image of the drive whose data is to be recovered to preserve data in case anything goes wrong during the recovery attempt.
We treat the created image as the source from which we recover data. The following is an example of a disk image created using Access Data FTK imager.

Ensure that you have enough storage to accommondate the recovered data. In some cases, the recovered data is larger than the disk default capacity.
Data recovery process
In this tutorial, we will learn how to use Autopsy as a data recovery software.
Autopsy is the graphical user interface for the Sleuth kit program.
As a forensic tool, it only performs analysis and does not support the functionality of imaging storage media, this means that an image of the original media needs to be have been created using another software tool.
Step 1: Creating a case file
Files that need to be analyzed, as well as the data to be recovered are called cases in Autopsy.
Let's learn how to use Autopsy now.
Download and install Autopsy.
When the installation is complete, launch the Autopsy software and click create a new case as shown below:

Key in the case details as you wish in the dialog box shown below:

The additional information is not necessary if you're not recovering data under law enforcement. Therefore, you can fill any number and name in the additional information field.
When you click finish, the following dialog box pops up:

Step 2: Selecting data source
Select logical disk from the dropdown list, then choose the targeted drive image whose data is to be recovered.
Click next to proceed to the second step of modules. Ensure that you leave the default values then to press next.
The next step indicates whether a data source has been added and that analysis has began. Click Finish to close the dialog box and let the analysis to proceed.
When the analysis is complete, the data is displayed in different categories. The major sections include:
- Data sources – This section shows the image from which the data under analysis is stored.
- Views – It shows the files in the image. They are classified by size, and type.
- Results – This category contains the findings of the analysis classified as; extracted content, keyword hits, HashSet hits, e-mail messages, interesting items, and accounts.
- Tags and reports - It contains a summary of the analysis in excel format.
Step 3: Data restoration
Open the folder of the files you'd want to be recovered. In this case, we want to restore deleted files as shown below:

We will right-click on the data we want to restore and select export. Choose a location to export the data to, then click save.
This data can be viewed in the folder to which it has been exported without any difficulties.
Conclusion
Most of the time data analysis and recovery is performed by law enforcement agencies that are investigating cybercriminals.
However, you can still use the above steps, as well as software to recover personal or business data.
Further reading
Peer Review Contributions by: Wanja Mike